.svg.png)
Automate Your Homebrew Backups and Easily Reinstall your Mac Apps
Mac Apps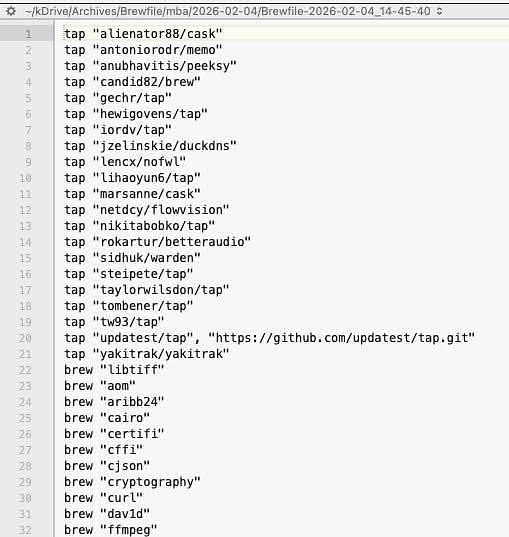
The number of Mac apps you can install through the free package manager Homebrew keeps growing by the day. Tools like Cork, Taphouse, and Updatest can even convert apps you originally installed through other methods into versions that Homebrew can manage and update for you.
Homebrew also includes a built-in backup feature that creates what it calls a Brewfile--basically a plain-text script listing everything Homebrew has installed on your system. That file can later be used to reinstall your entire app catalog in one shot, which is incredibly useful if you're setting up a new Mac or rebuilding your current one from scratch.
If you're the kind of user who regularly tweaks your setup, experiments with new apps, and keeps everything updated, then your Brewfile needs regular backups to stay relevant. Otherwise, it quickly turns into an outdated snapshot of a system you no longer have.
The script below automates that process. It generates a fresh Brewfile on demand, places it inside a date-stamped folder, and saves it wherever you want--ideally somewhere that syncs to the cloud or another machine. You can run it manually, schedule it with cron, or trigger it through a Keyboard Maestro macro at a set time each day.
In short, it turns "I should really back up my Homebrew setup more often" into something that just happens automatically.
Important note: This script assumes you're running an Apple Silicon Mac. If you're on an Intel machine, you'll need to adjust the Homebrew path, since it lives in a different location on those systems.
/usr/bin/osascript <<'APPLESCRIPT'
tell application "Terminal"
  activate
  do script "/bin/zsh -lc 'export PATH="/opt/homebrew/bin:/opt/homebrew/sbin:/usr/local/bin:$PATH"; \
set -e; \
# Ensure Homebrew + Bundle are available
if ! command -v brew >/dev/null; then echo "Homebrew not found in PATH"; exit 1; fi; \
brew bundle --help >/dev/null 2>&1 || brew tap homebrew/bundle; \
# Create dated folder inside an archive location
STAMP_DATE=$(date +%F); \
STAMP_TIME=$(date +%H-%M-%S); \
DEST="<PATH TO ARCHIVE LOCATION HERE>$STAMP_DATE"; \
mkdir -p "$DEST"; \
# Filename: Brewfile-YYYY-MM-DD_HH-MM-SS
OUTFILE="$DEST/Brewfile-${STAMP_DATE}_${STAMP_TIME}"; \
# Dump Brewfile there
brew bundle dump --file="$OUTFILE" --force; \
echo; echo "Brewfile saved to: $OUTFILE"; \
# Reveal it in Finder
open -R "$OUTFILE"; \
echo; echo "✅ Done."; \
# Keep the Terminal session open
exec $SHELL'"
end tell
APPLESCRIPT
How to use this
If you've never automated a Brewfile backup before, here's the simple, practical way to put this to work:
Save the script somewhere logical.
Drop it in a folder you already use for utilities or personal scripts--something like ~/Scripts or ~/bin.
Decide where you want backups to live.
The best location is a folder that automatically syncs--iCloud Drive, Dropbox, Koofr, etc. That way you always have off-machine copies.
Run it once manually.
Open Terminal, execute the script, and confirm that it creates a dated folder containing a Brewfile exactly where you expect.
Automate it.
- Keyboard Maestro: Create a simple macro with a "Time of Day" trigger that runs the script every night.
- cron/launchd: Schedule it to run daily or weekly if you prefer a pure system-level approach.
- Test a restore someday.
Run the script manually
The real value of a Brewfile is being able to reinstall everything with a single command. On a fresh Mac, you can just run:
brew bundle --file=YourSavedBrewfile
This whole process takes about ten minutes to set up and pays for itself the first time you migrate to a new Mac or need to rebuild your system.
If you live in Homebrew--and a lot of us do--having automated, versioned Brewfile backups is one of those small, boring habits that quietly saves a huge amount of time.